Installing on Windows
Who this page is for
Anyone installing al-Shamil on a Windows machine for the first time, or updating it to a newer version.
What you need first
- The download link from the support team. The file is named
Shamil-<version>-setup.exe(for exampleShamil-0.1.1-setup.exe), with a.sha256file beside it for anyone who wants to verify. - Windows 10 (version 1809) or newer, or Windows 11 — including Windows 11 machines with an ARM processor.
Steps
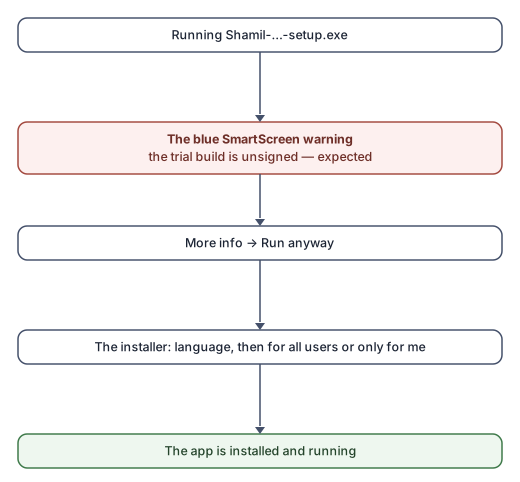
- Download the installer. Your browser may warn you that the file is not commonly downloaded — choose to keep it; the warning is expected because the trial build is unsigned.
- Run the file. If the blue SmartScreen screen appears, press More info and then Run anyway.
- Choose the installer's language: Arabic, English, German or Swedish.
- Choose how to install:
- For all users of this machine — installs into Program Files and needs administrator rights.
- For me only — needs no administrator rights.
- Finish the wizard and start the application.
What you see next
The sign-in window, with the language list in case you want to change it before signing in. Continue in Signing in.
Updating and uninstalling
- Updating: run the new version's installer over the old one. Your settings stay, and all your data is on the server, so nothing is lost.
- Uninstalling: from Windows Settings → Apps. The settings and the log file stay on the machine, so a later install finds them as they were.
Common mistakes
- Deleting the file when the browser or Defender warns. The warning
appears because the trial build is unsigned, not because anything is
wrong with the file. For peace of mind, compare the file's hash with the
accompanying
.sha256file (in PowerShell:Get-FileHash, then compare the output). - Missing the More info link on the SmartScreen screen: the run button only appears after pressing it.